
Joseph Kills Lucy
Devlog 2 (Visuals) - Asset Development Timeline
September 30th-5th:
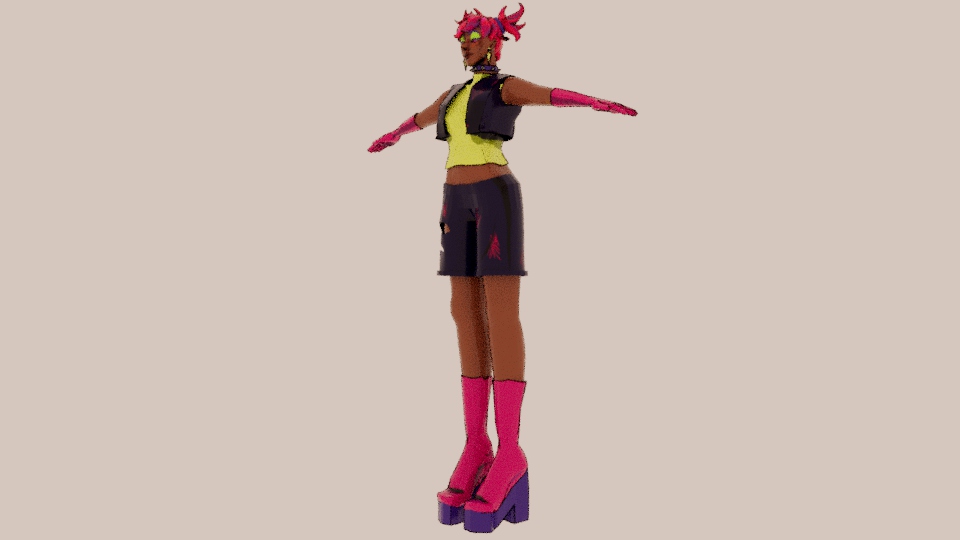
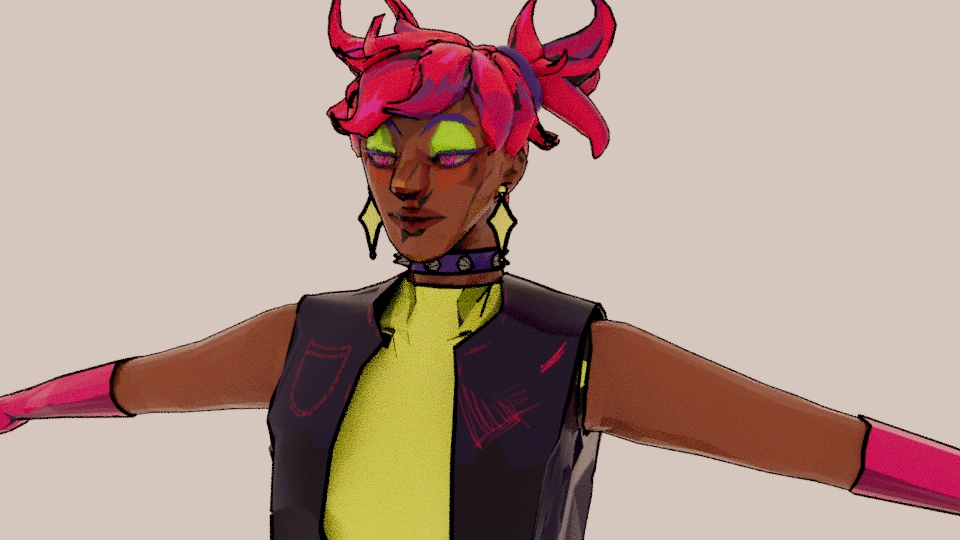
I experimented with sculpting for the first time using Nomad Sculpt. I mainly used it to mold Lucy’s face to match the concept art I made. It did take me a while to experiment with the different sculpting tools and how to properly use them. Once I finished roughly molding Lucy’s face, I proceeded to sculpt the hair. I had to create separate cubes to sculpt the bangs and strands of hair before combining them. Once both the body and the hair were done being sculpted in Nomad Sculpt, I migrated to Autodesk Maya to build the clothes and accessories.
October 6th-13th:
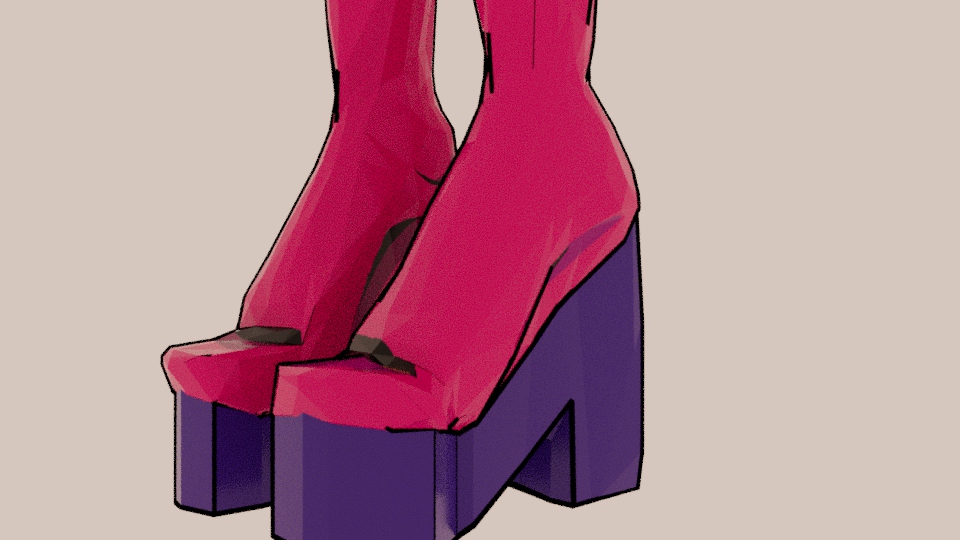
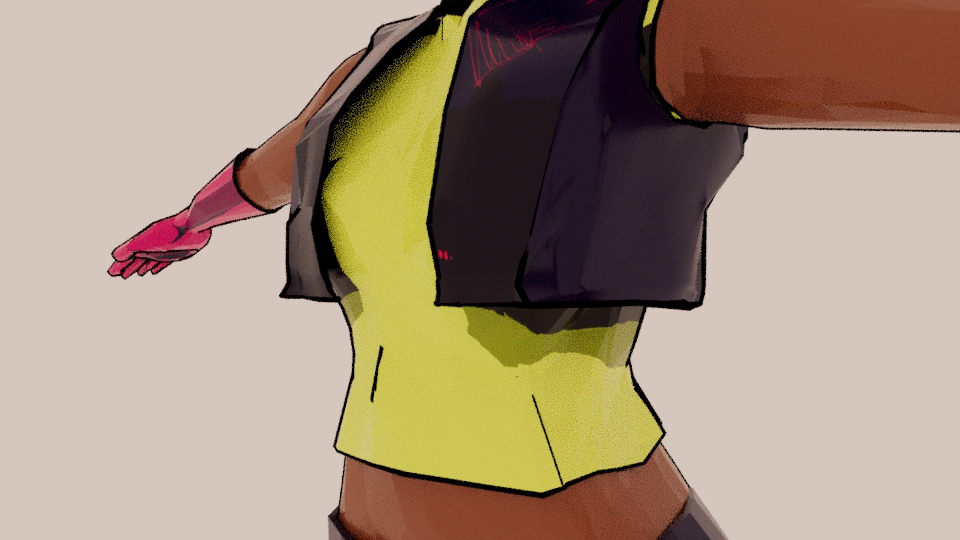
I focused on painting the textures for Lucy in a digital painting (Medibang Paint) after I UV unwrapped everything. Since the visual goal since the beginning of planning this game was to create 3D models with the stylistic sketchiness of 2D visuals, I hand painted all the textures. I also researched how to create a black outline for Lucy in Maya, hoping to create all the rigs and textures in Maya to make it easier for the rest of the team; they just have to simply import the models and focus on animating. However, Maya only allows the outline to be rendered by baking it into a polygon, so I had to bake the lines into polygon. This ended up creating a very small problem of the black outline no longer being reliant on the camera angle to create an outline, but rather it was locked into the position it was in when I rendered it from the perspective I was looking at during that time. That means the moment I rotate the camera angle, the black lines no longer outline the body and appear as random lines on the model.
Another concern I had but had not addressed yet was that it had increased the polycount by a couple ten thousands, which started to lag Maya.
October 14th-16th:
I then proceeded to rig the character. While I redid a couple of the skin weights, they did not pose a problem. I did encounter a problem of rigging the clothes and accessories. Since the clothes and accessories were using deformers and parent constraints, it did not translate to Unity. I later solved this by baking deforms of the textures onto a duplicate of the model and its clothes, as well as copying the skin weights. As for the accessories and eyes that did not wrap around the body, but rather needs to be moved/rotated with it, I put them as joints within the skeleton, underneath the head bone.
October 17th- November 2nd:
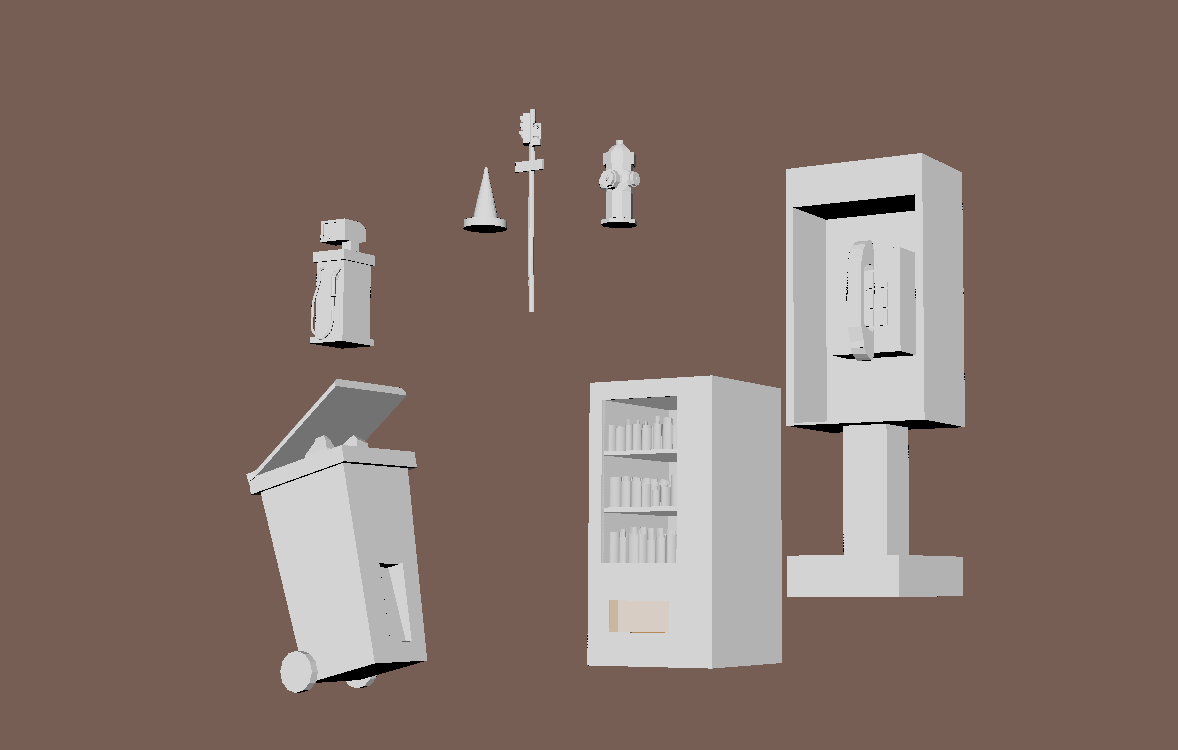
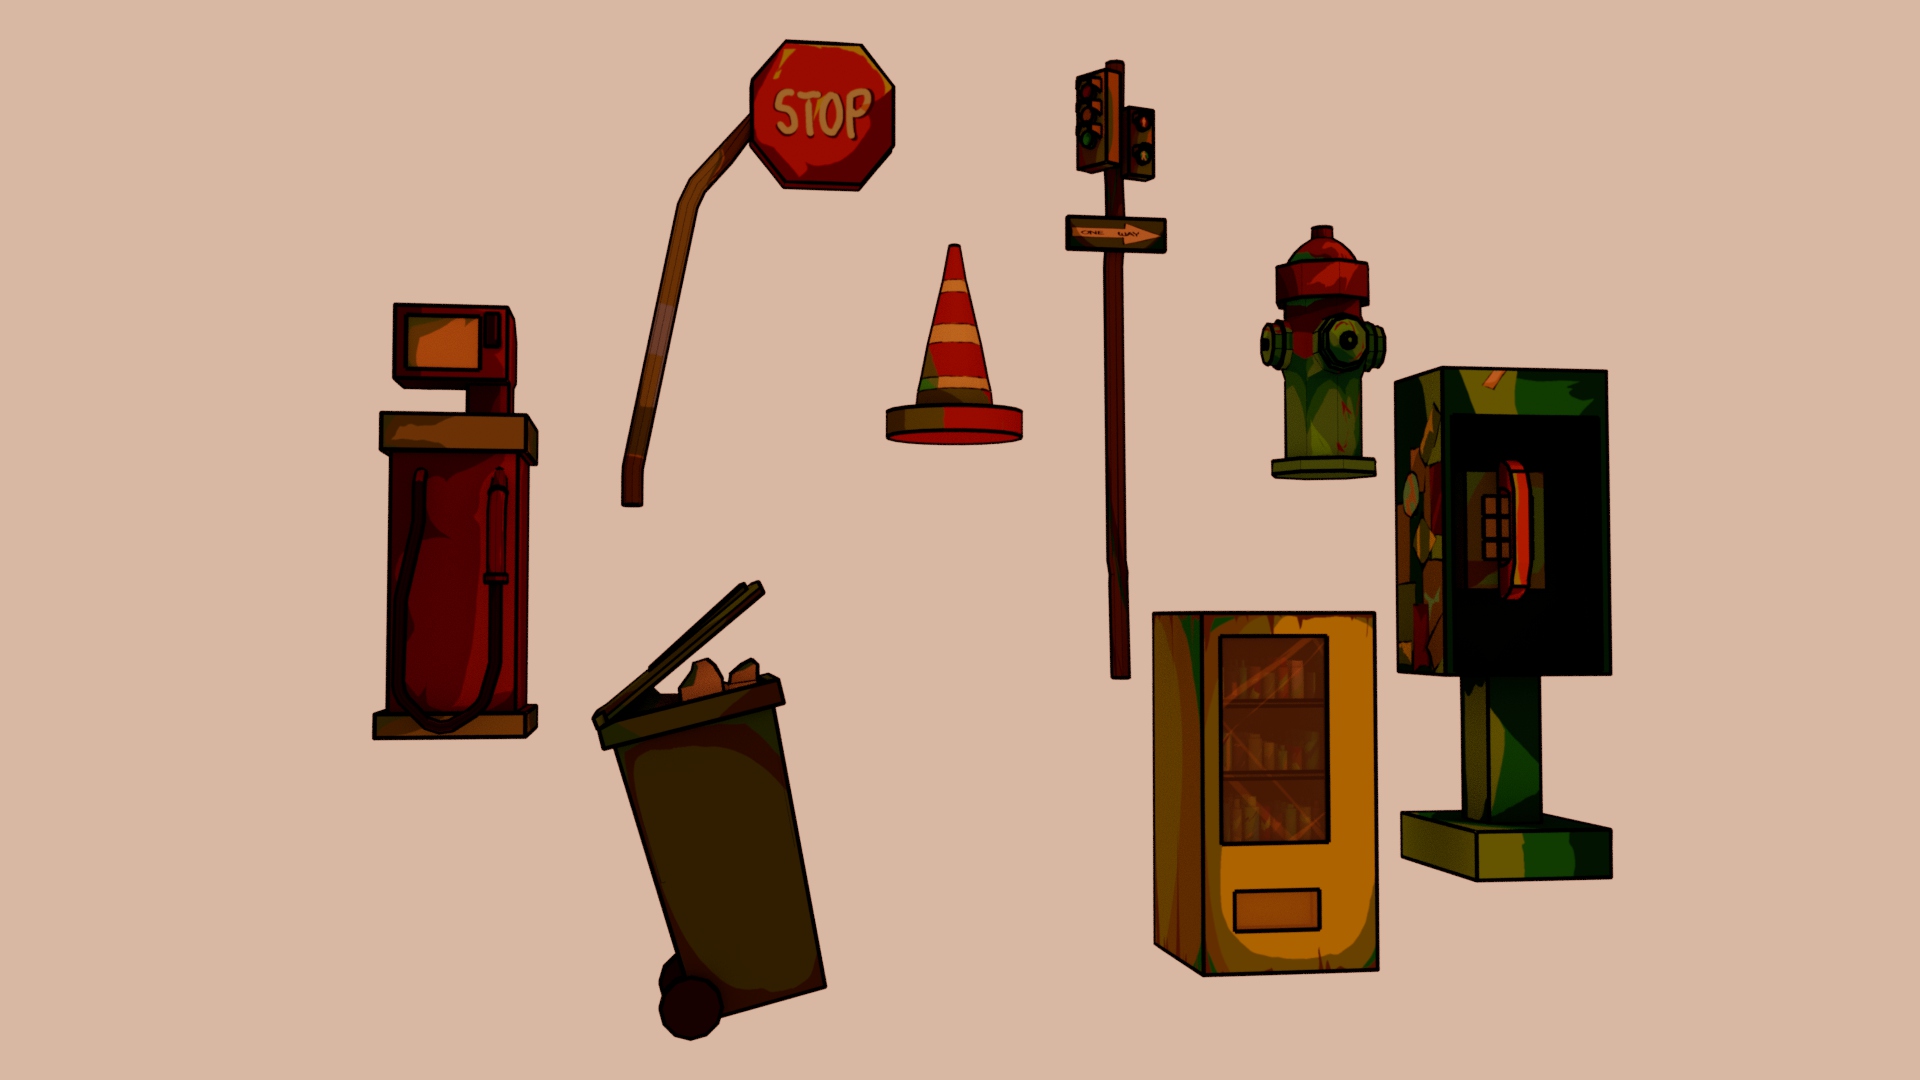
I focused more on the props and the environment buildings to get an environment in before fine tuning Lucy with the prior mentioned concerns I had. Especially since the textures, rig and model were working, I would leave it as a placeholder until the team experiments with it and give input. But since the coding team was primarily focused on the mechanics and not yet implementing assets, I shifted my attention for a bit towards the environment.
I made the following assets during this time with some of them having completed painted textures:
- Props:
- Stop sign
- Traffic cone
- Fire hydrant
- Gas pump
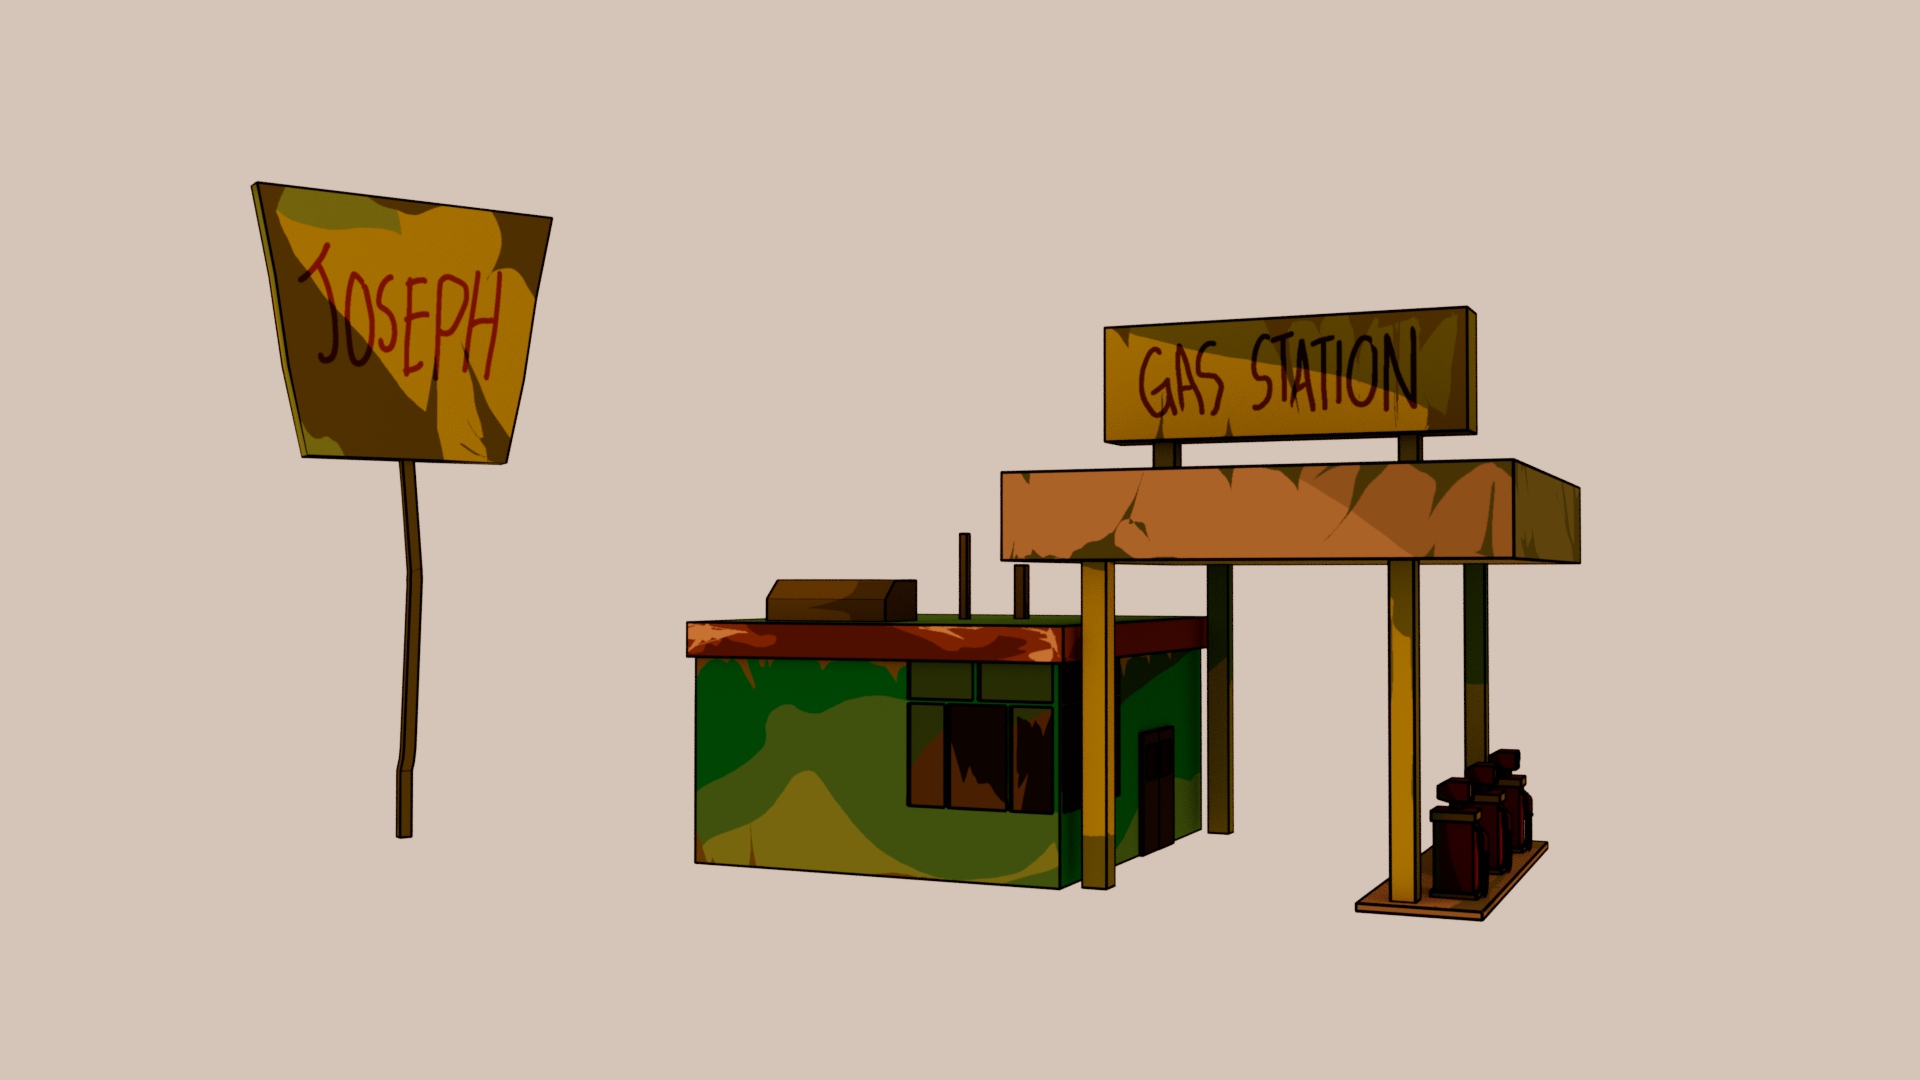
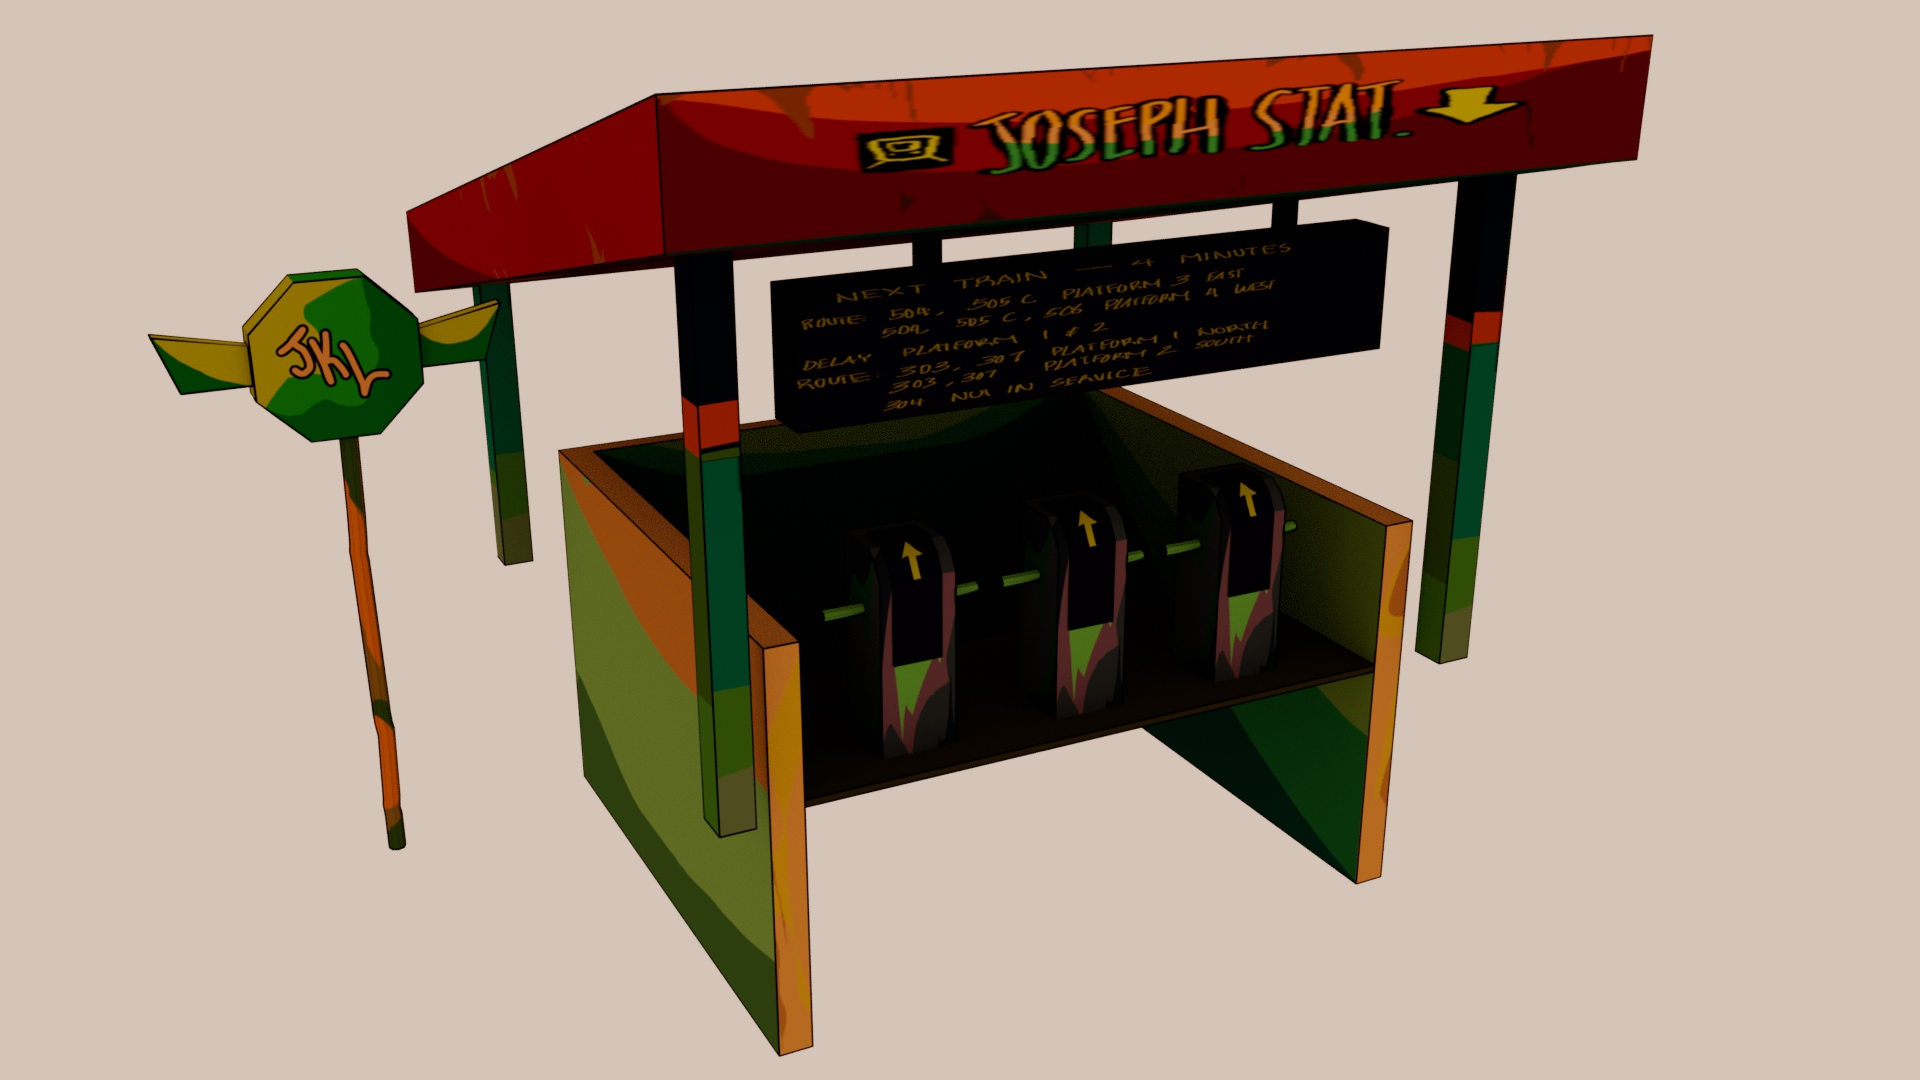
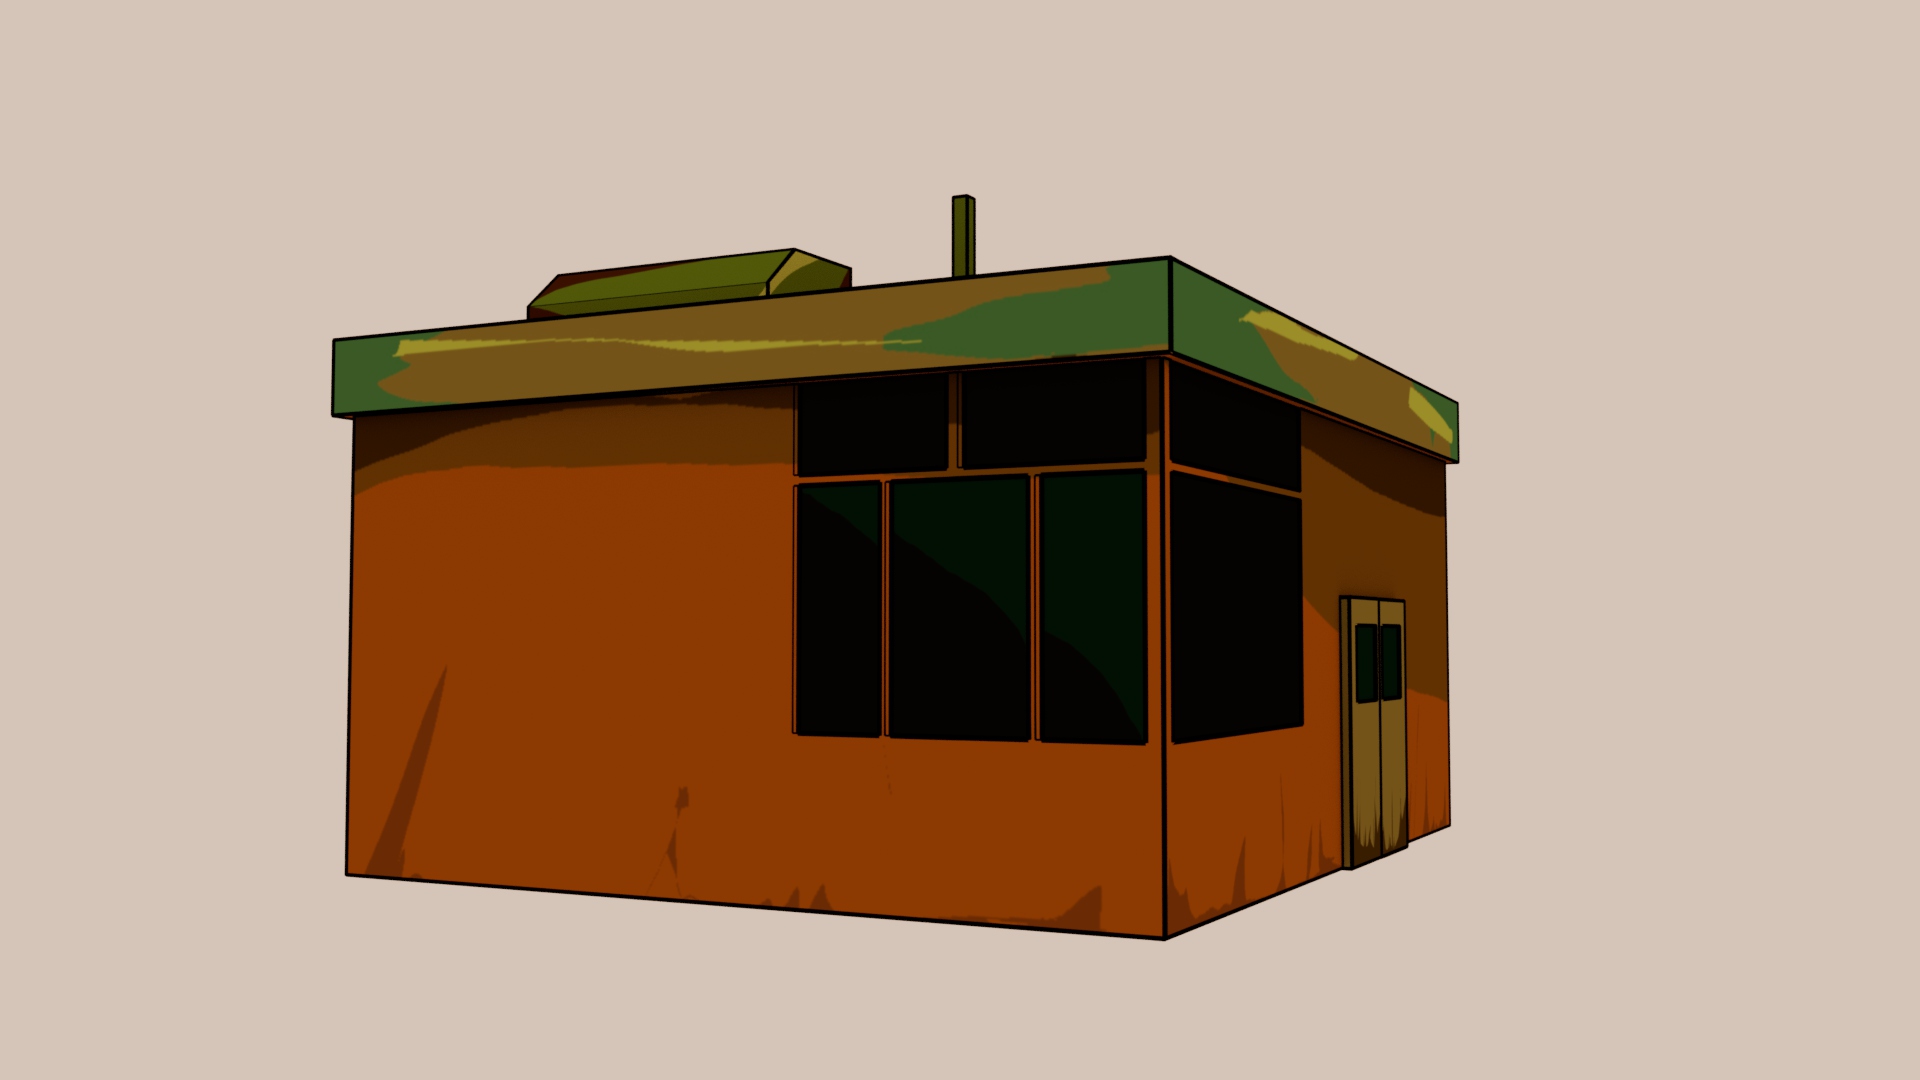
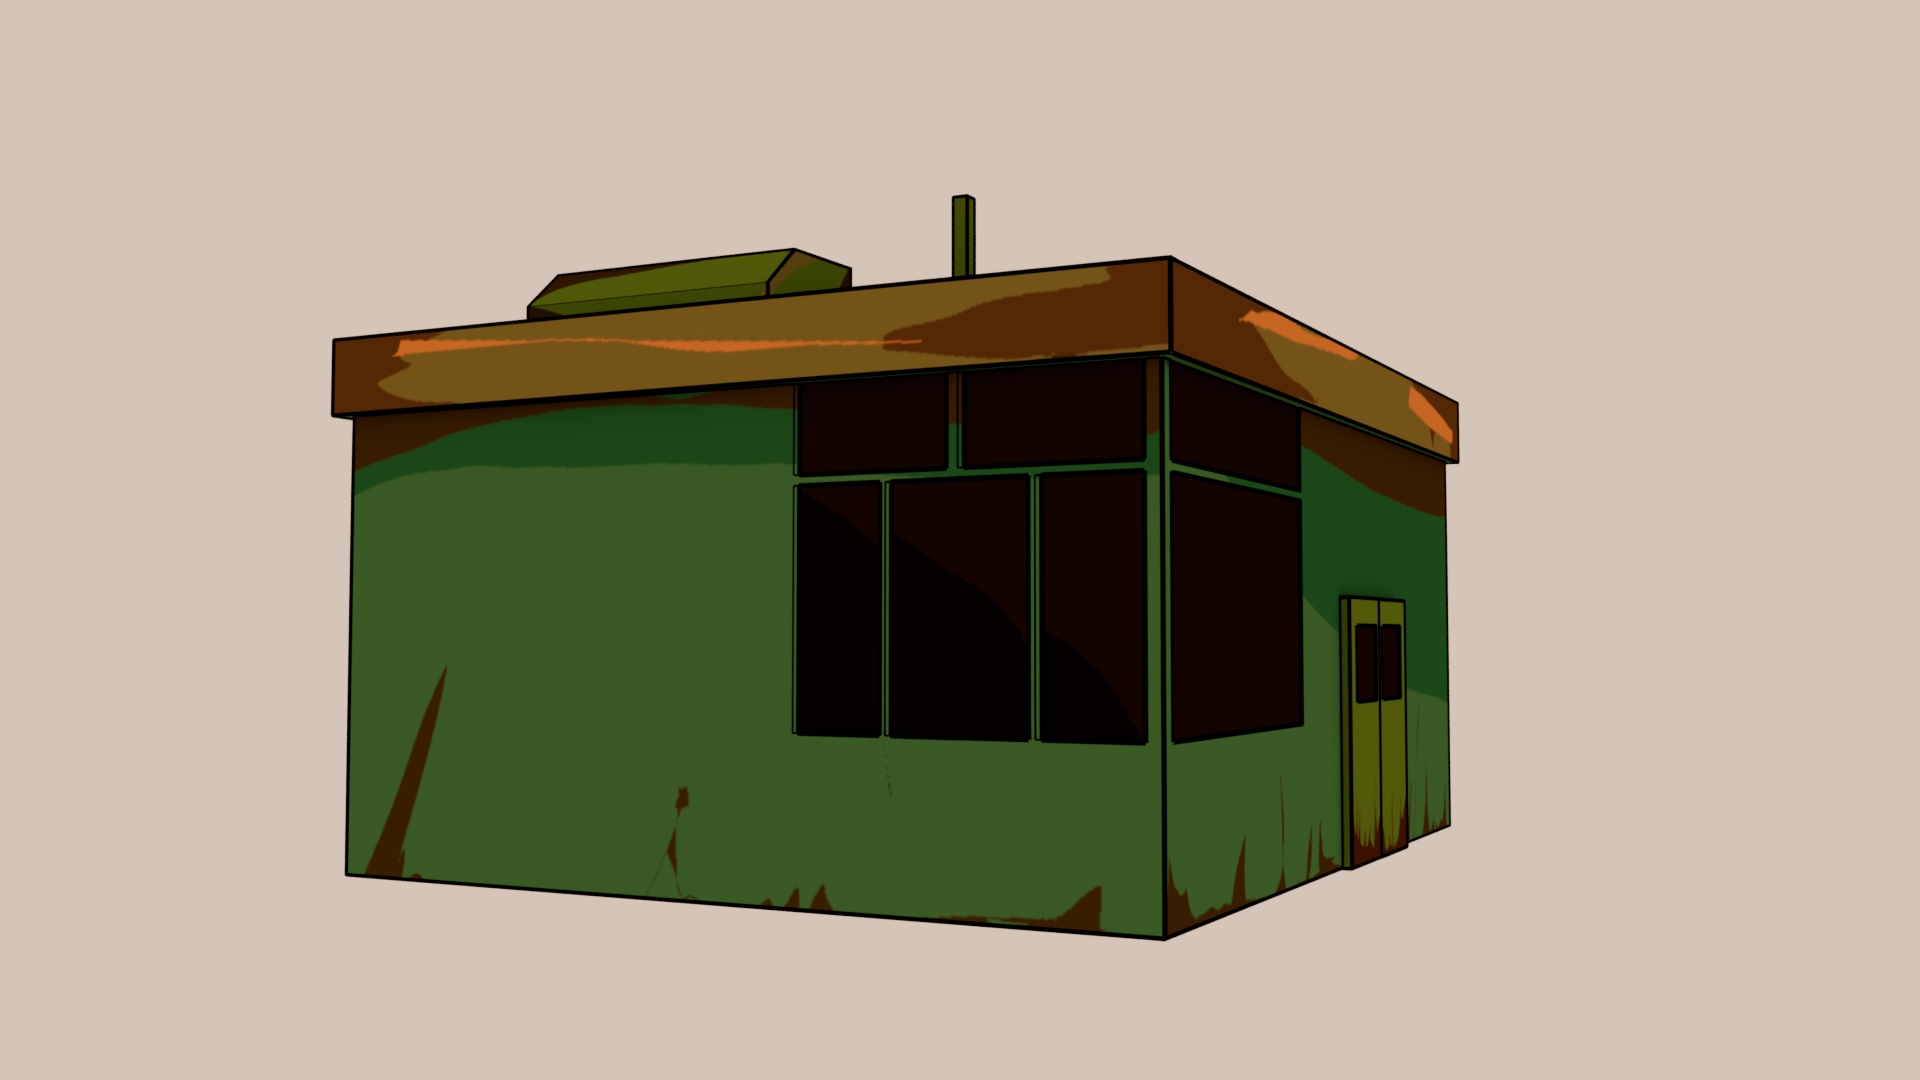
- Traffic light
- Buildings
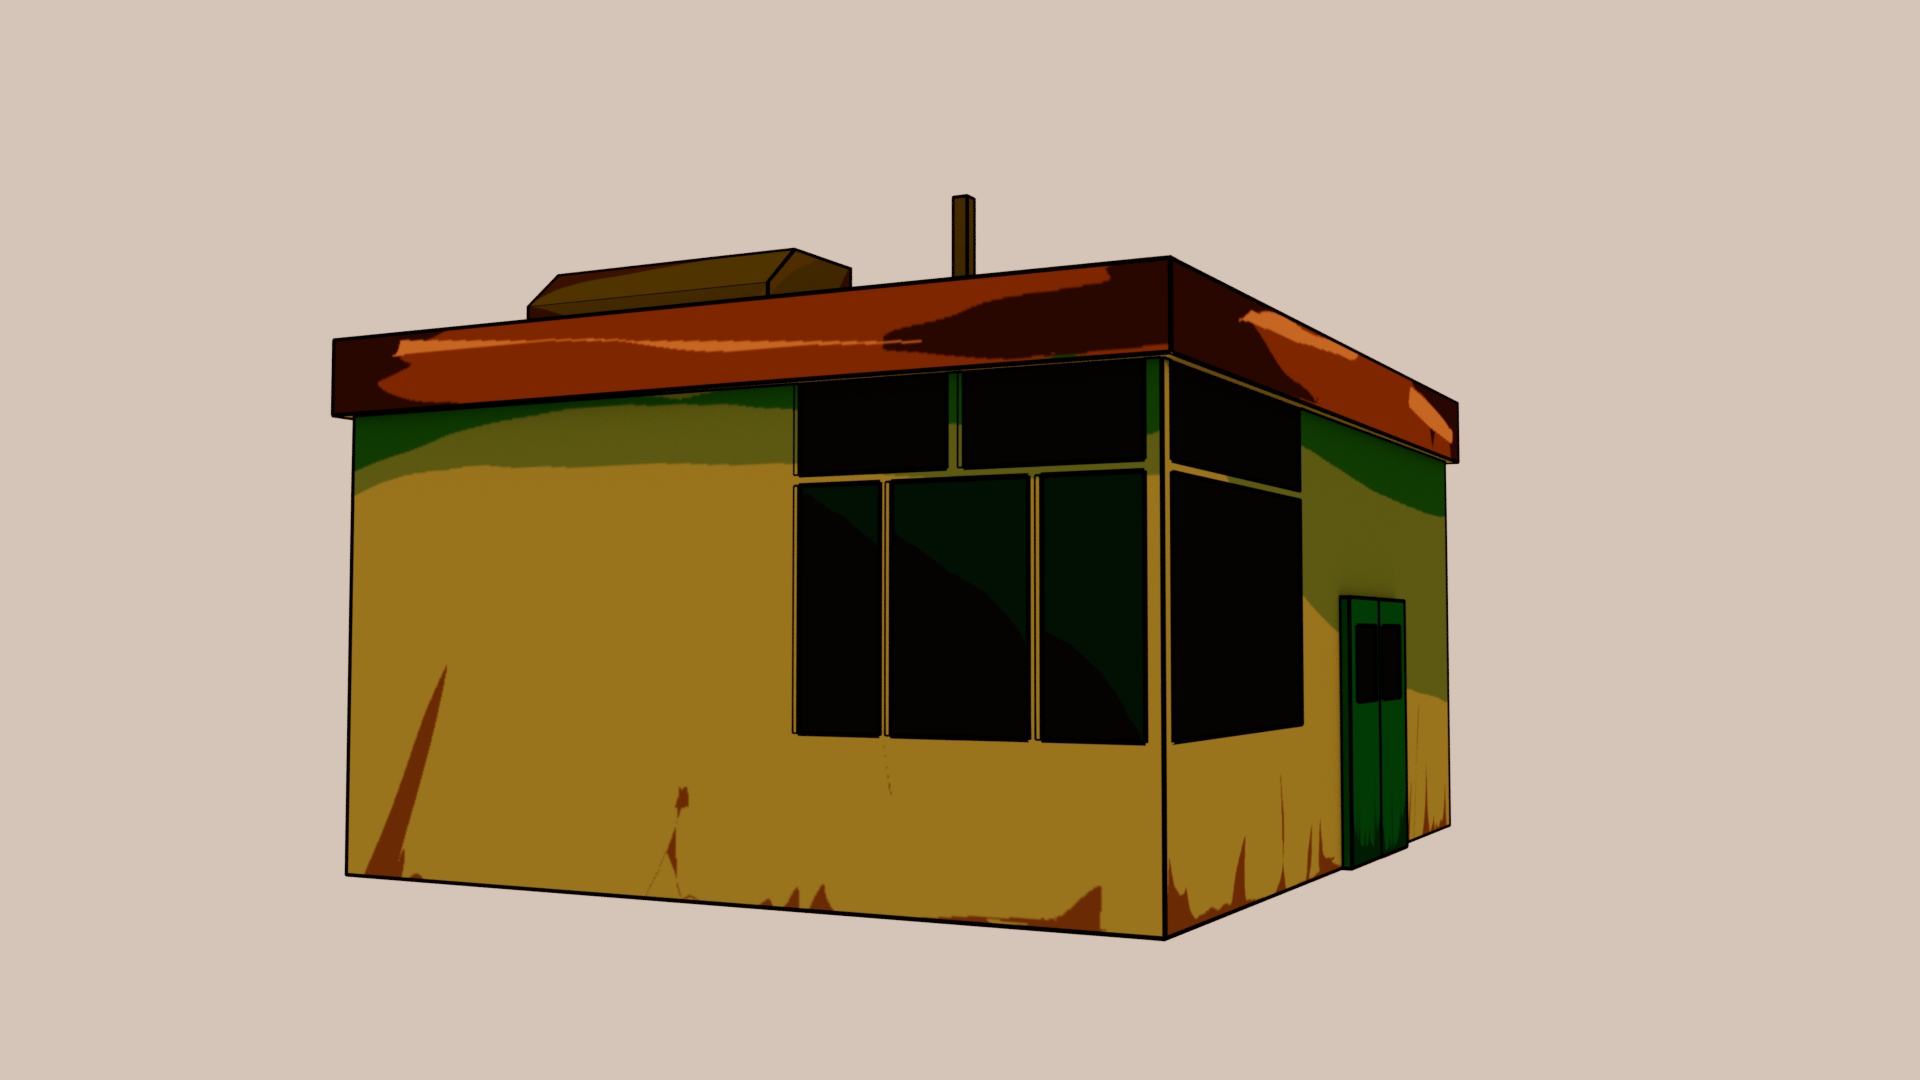
- Gas station
- Subway station
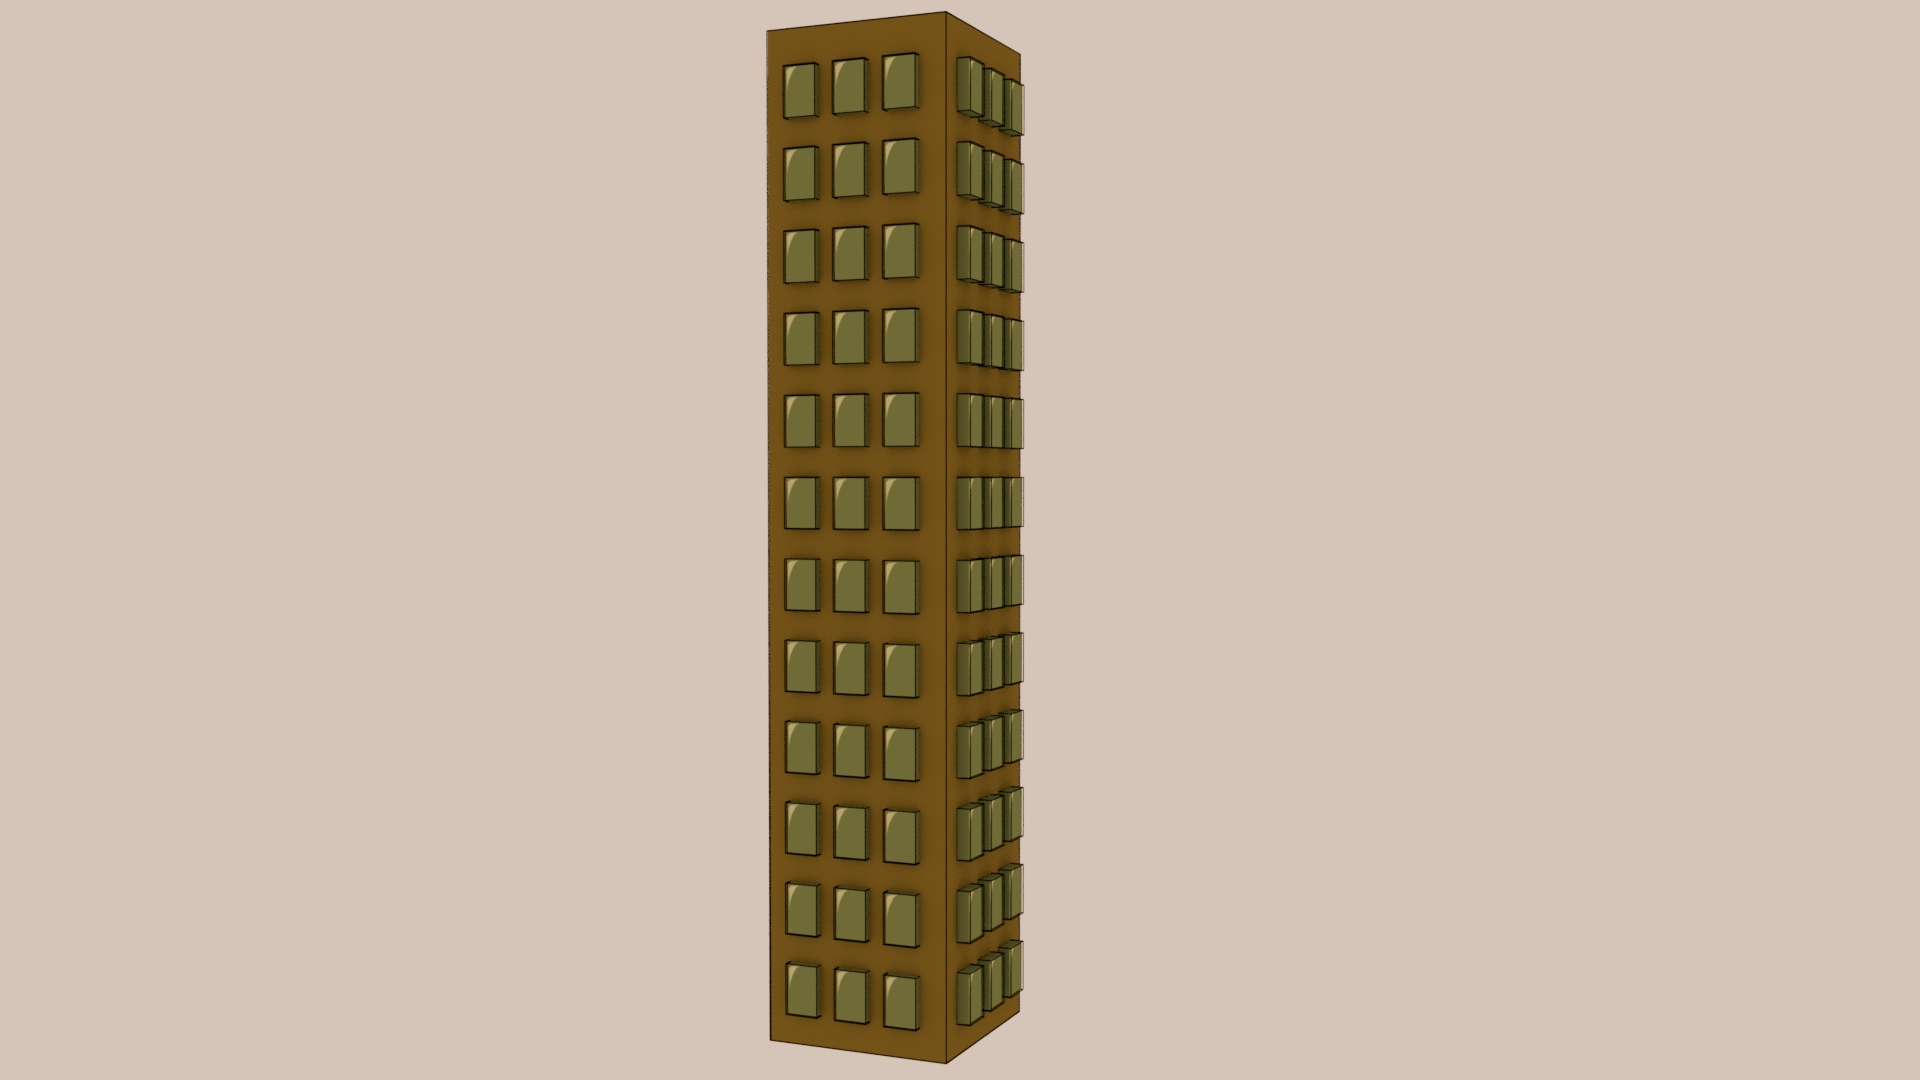
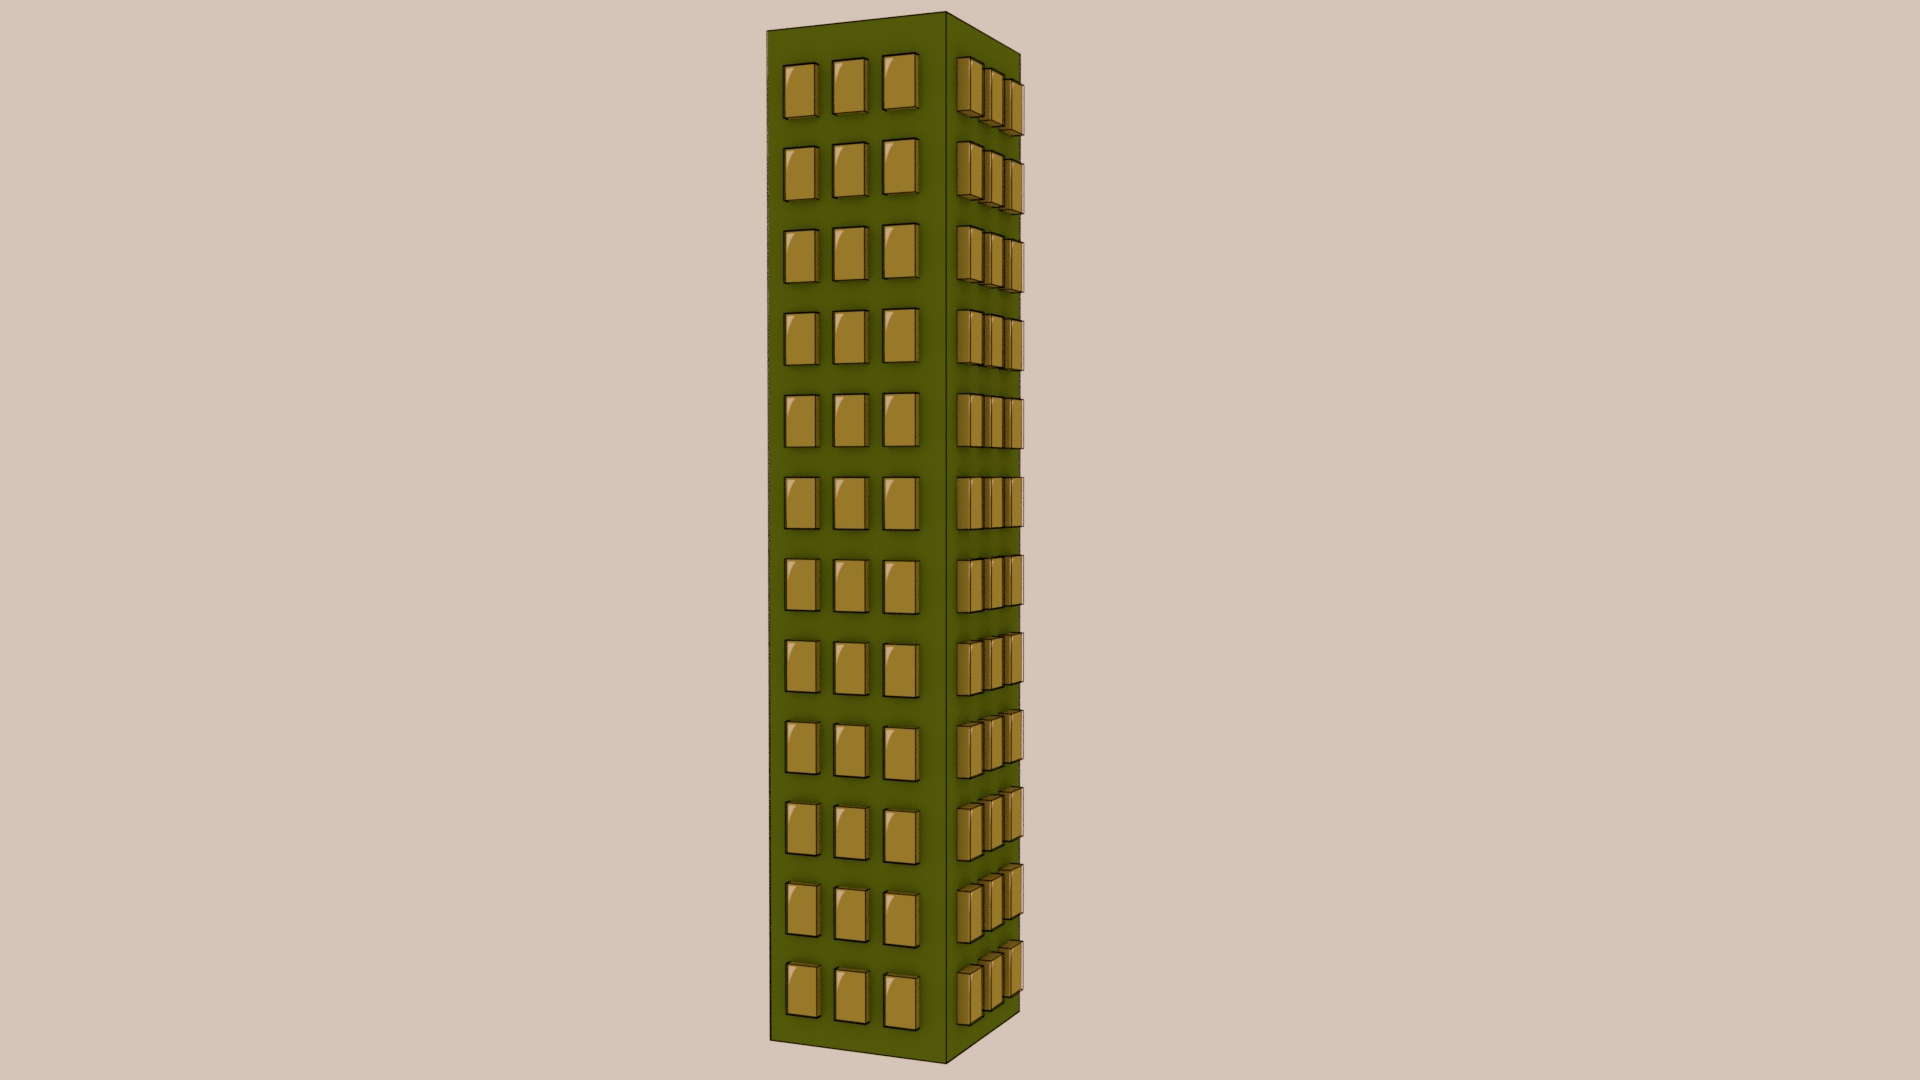
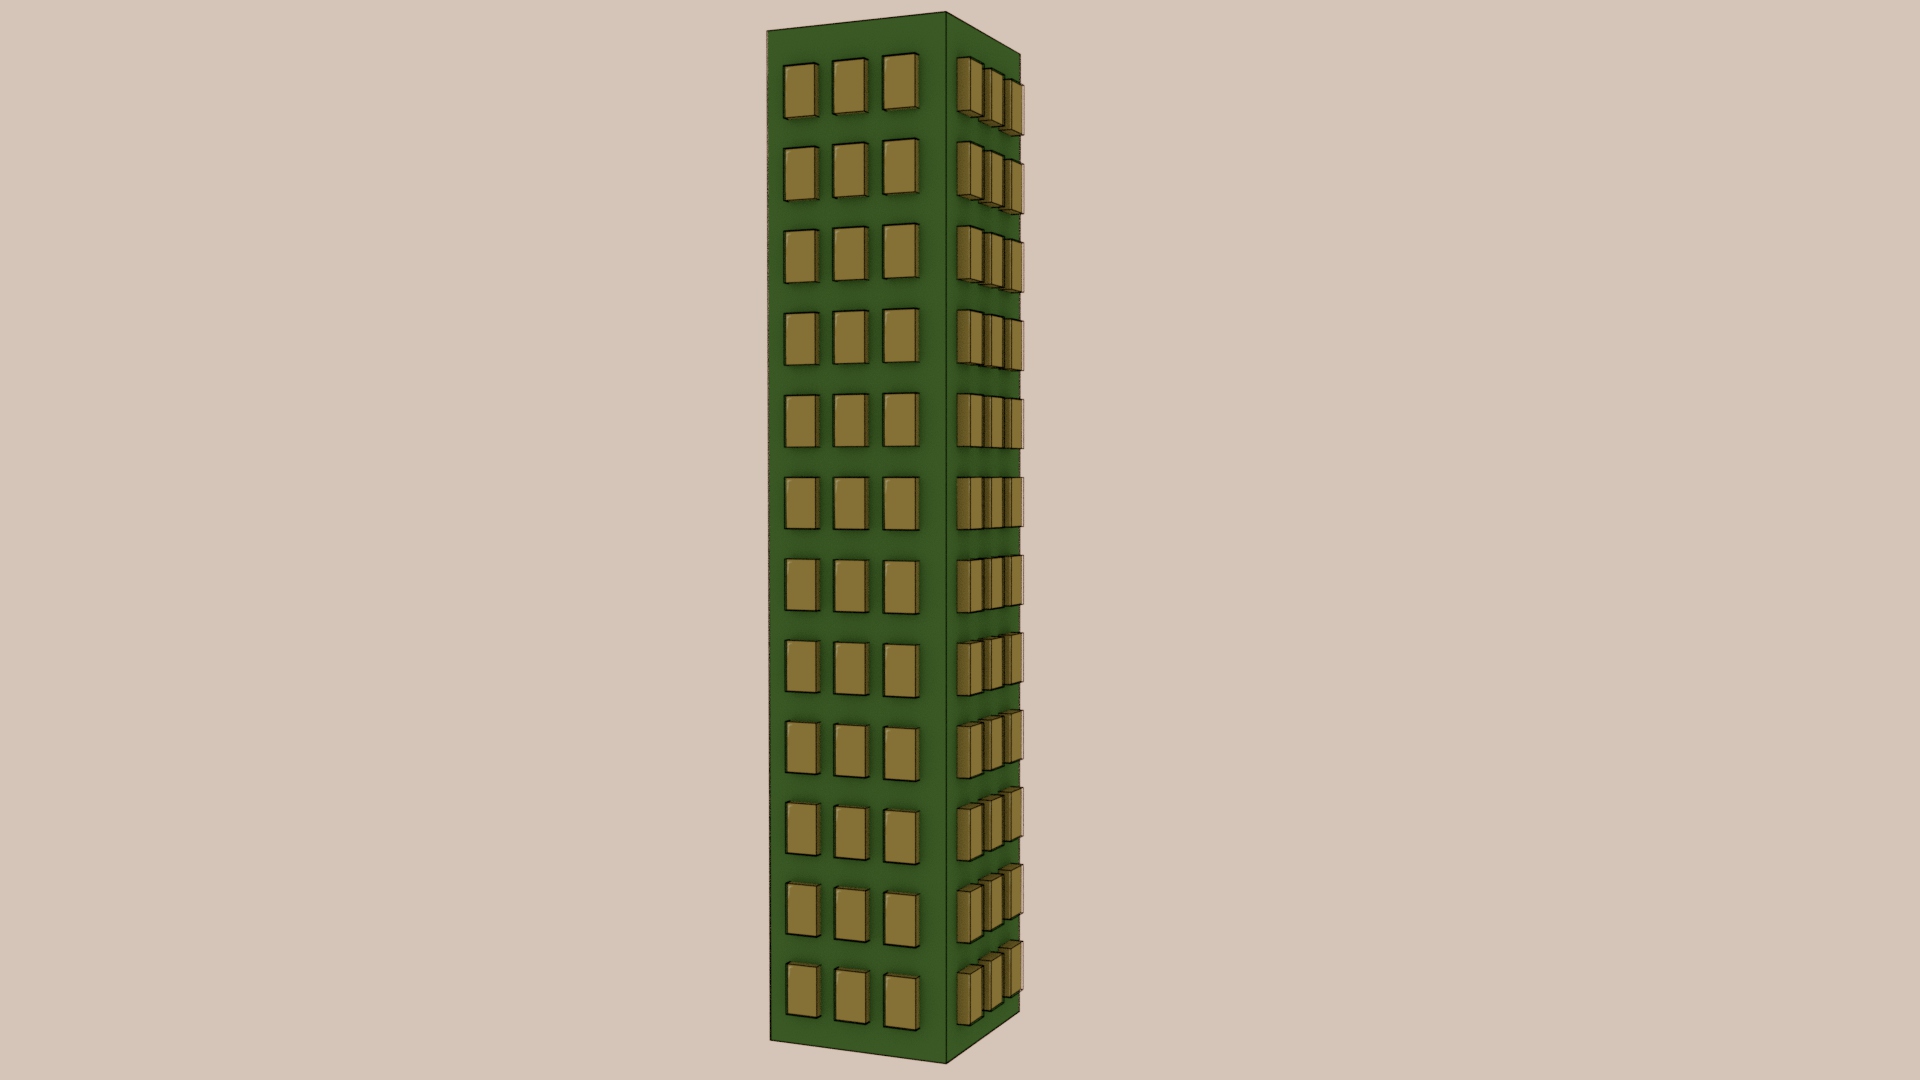
- Background building variant 1 (with 3 different colour variations/UV textures)
- Background building variant 2 (with 3 different colour variations/UV textures)
November 7th - 14th:
I redid the mesh for Lucy (eliminating the black polygon outline) and had to redo the skin weight painting, rigging, and baking deformations. Part of this was because of the early mentions of high poly count as well as the black outline not being an outline. Roann was able to find a shader for the black outline in Unity, so we decided there was no need for me to implement it in Maya. I had to also redo the rig and skin weights because the skin weights accounted for the extra polygons that the black outline consisted of, which now affected the non outlined Lucy strangely. There were also some issues with the skeleton in Unity so I did some troubleshooting and fixed that.
November 14th-16th:
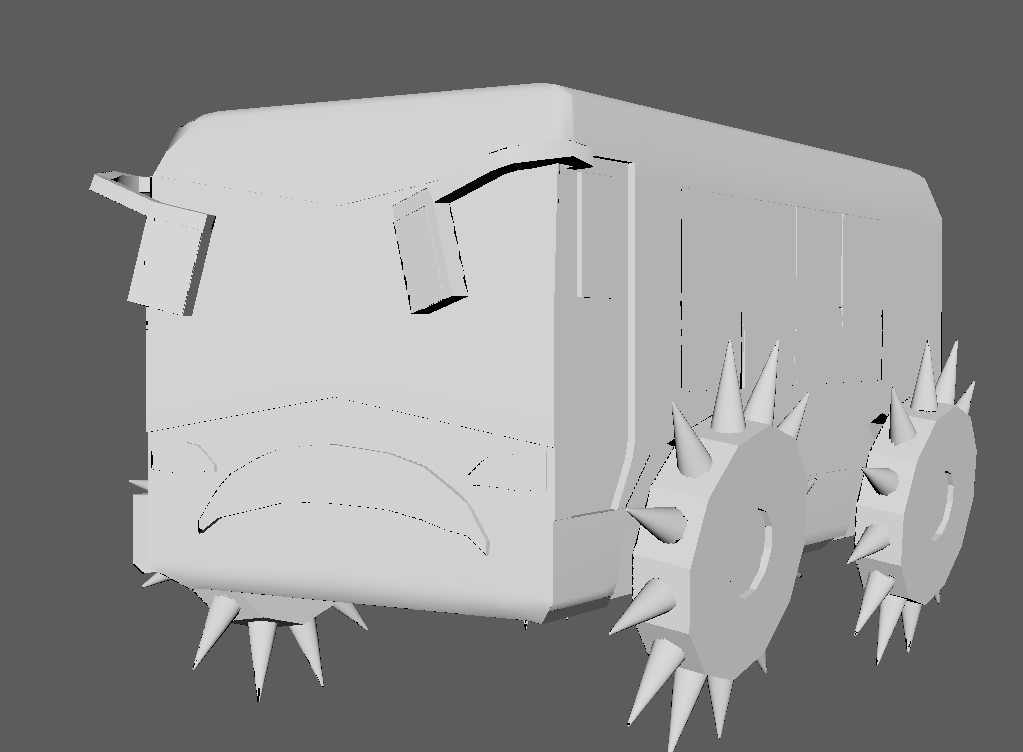
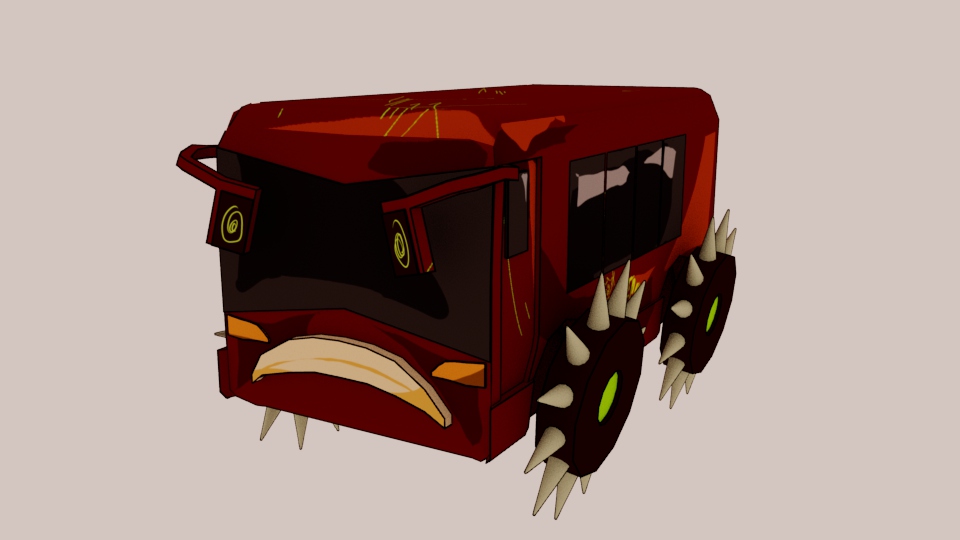
I moved onto creating the boss because the team started coding boss attacks, and I decided that creating the boss had more priority than the remaining background assets. I proceeded with the same process I did for the other 3D models: model, UV unwrap, and paint textures.
November 17th-23rd:
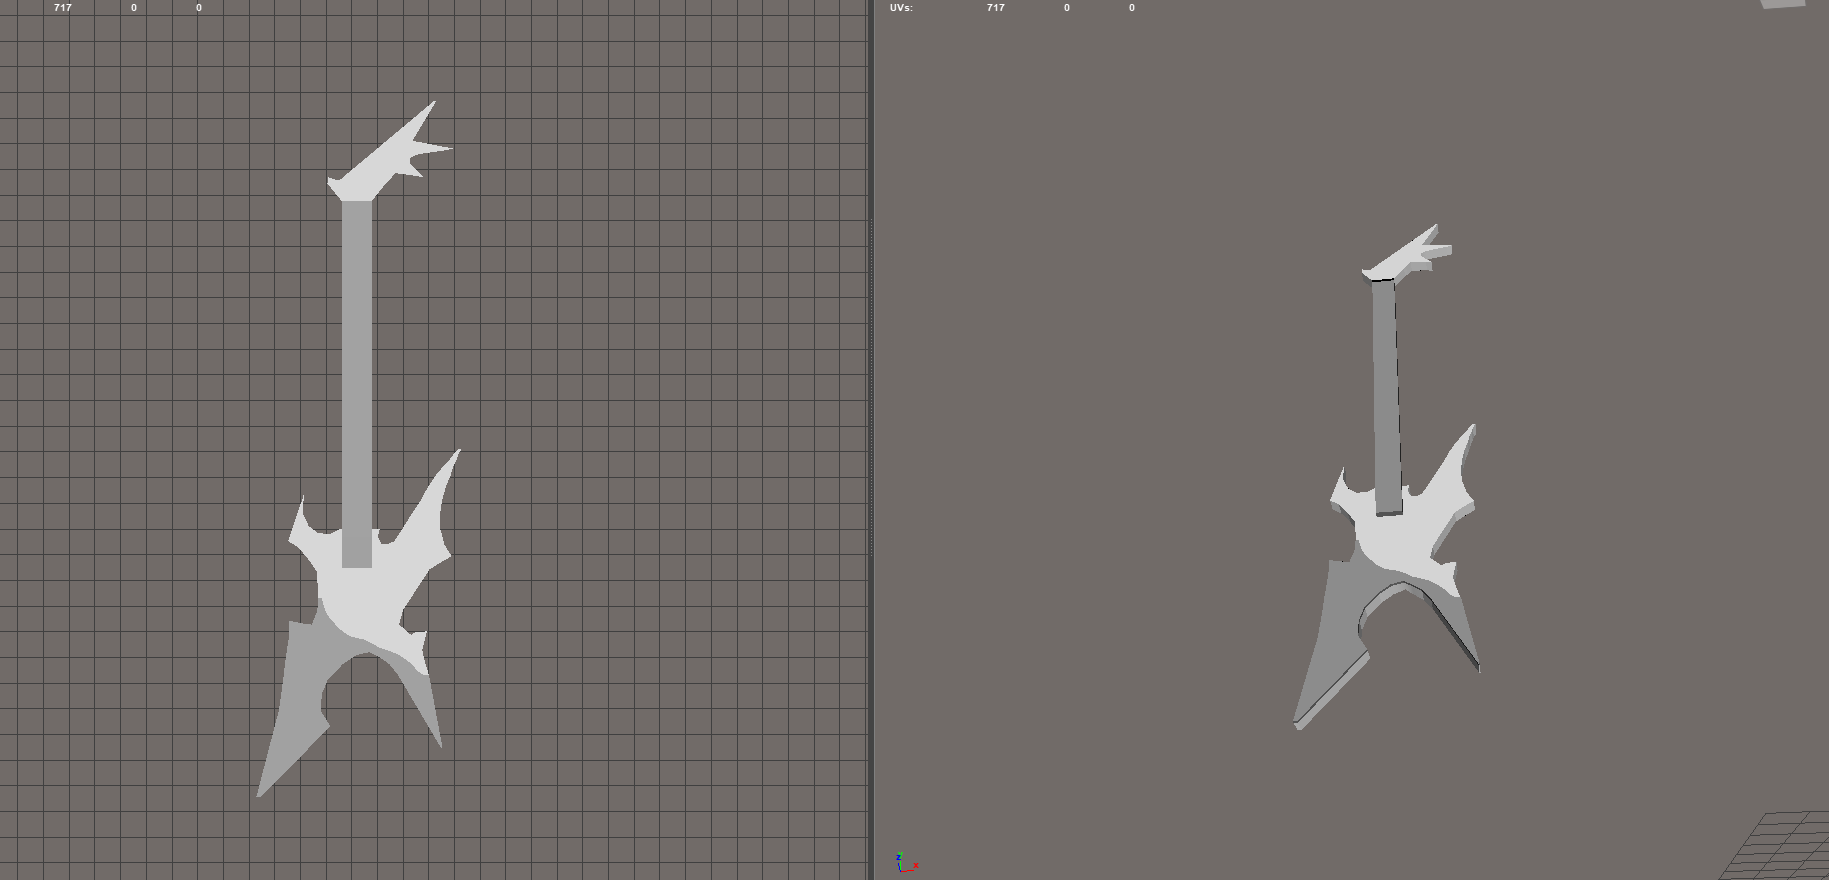
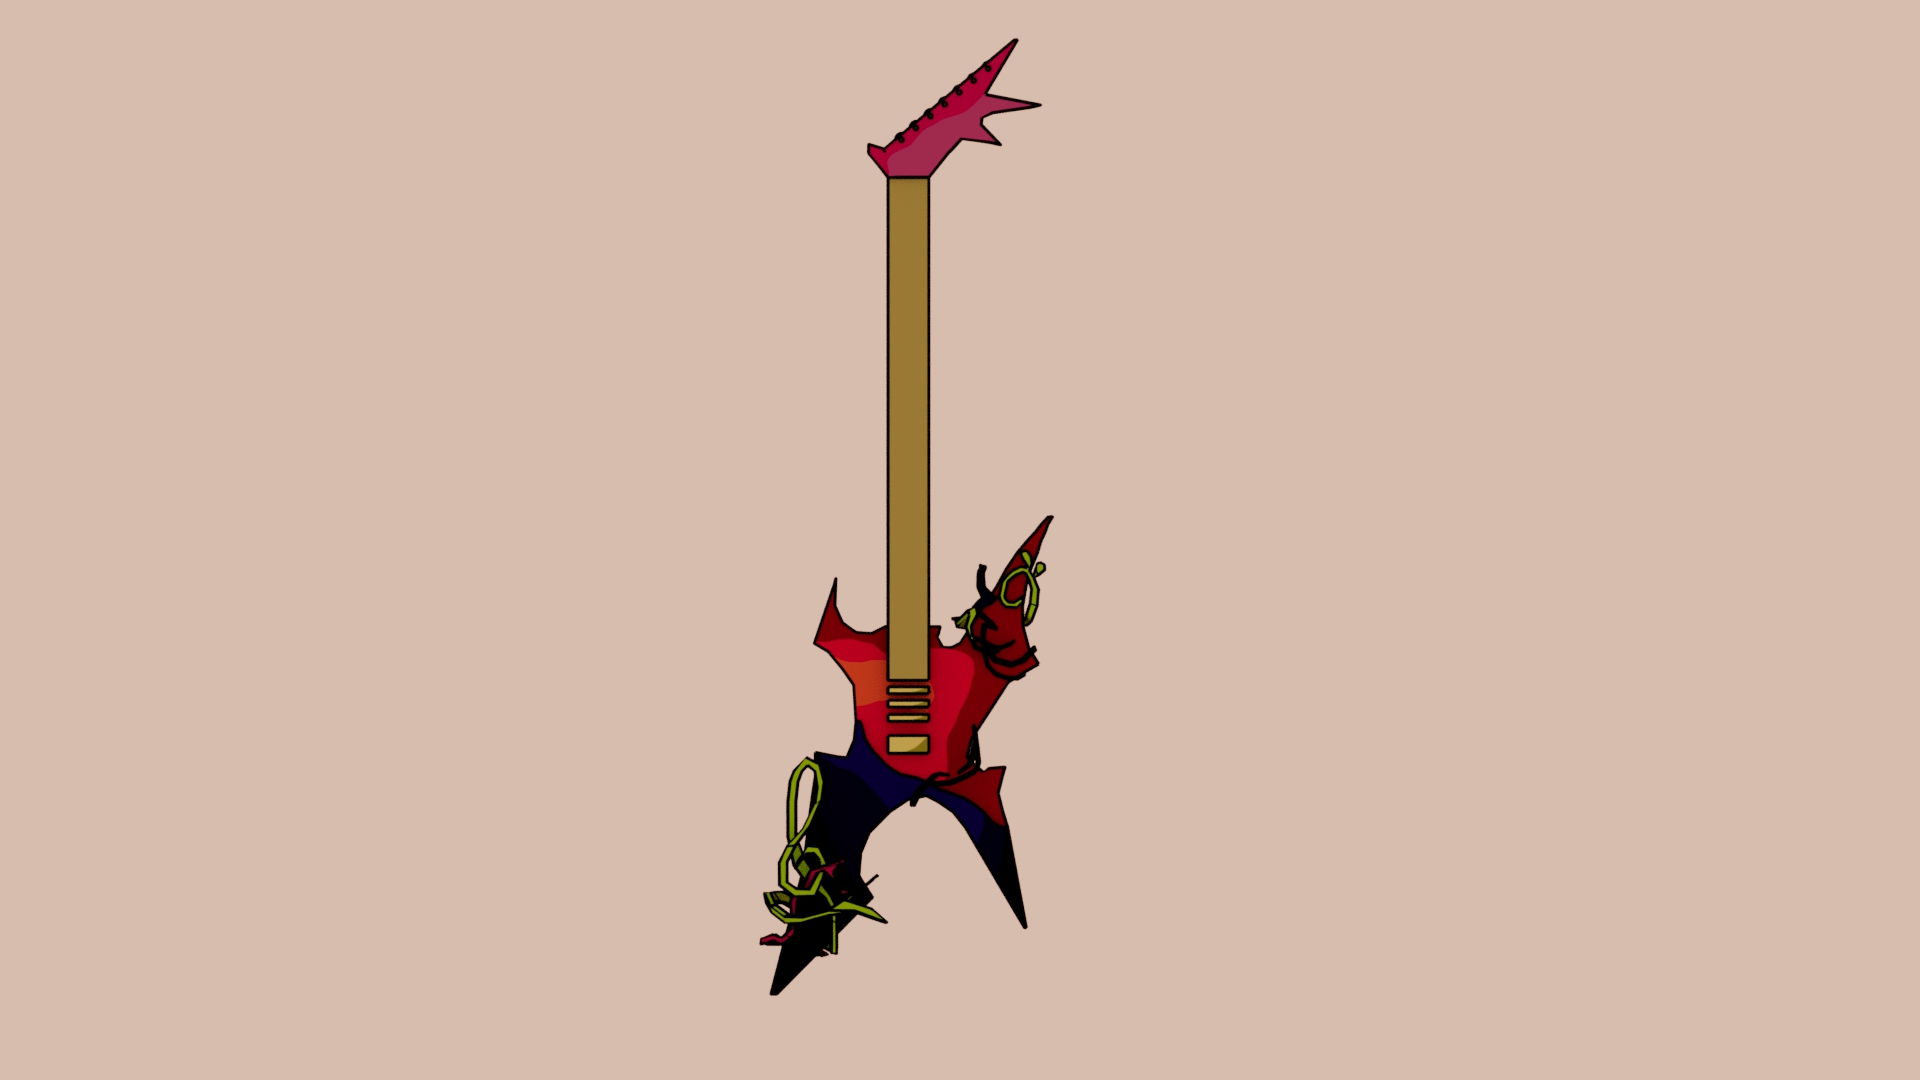
I then created the 3D model for the guitar that Lucy was using. Since there was a divided opinion on the first two concept art designs for the guitar (check Devlog 1-Visuals), so I kept the physical shape of the first guitar, but matched the colour palette to the second guitar.
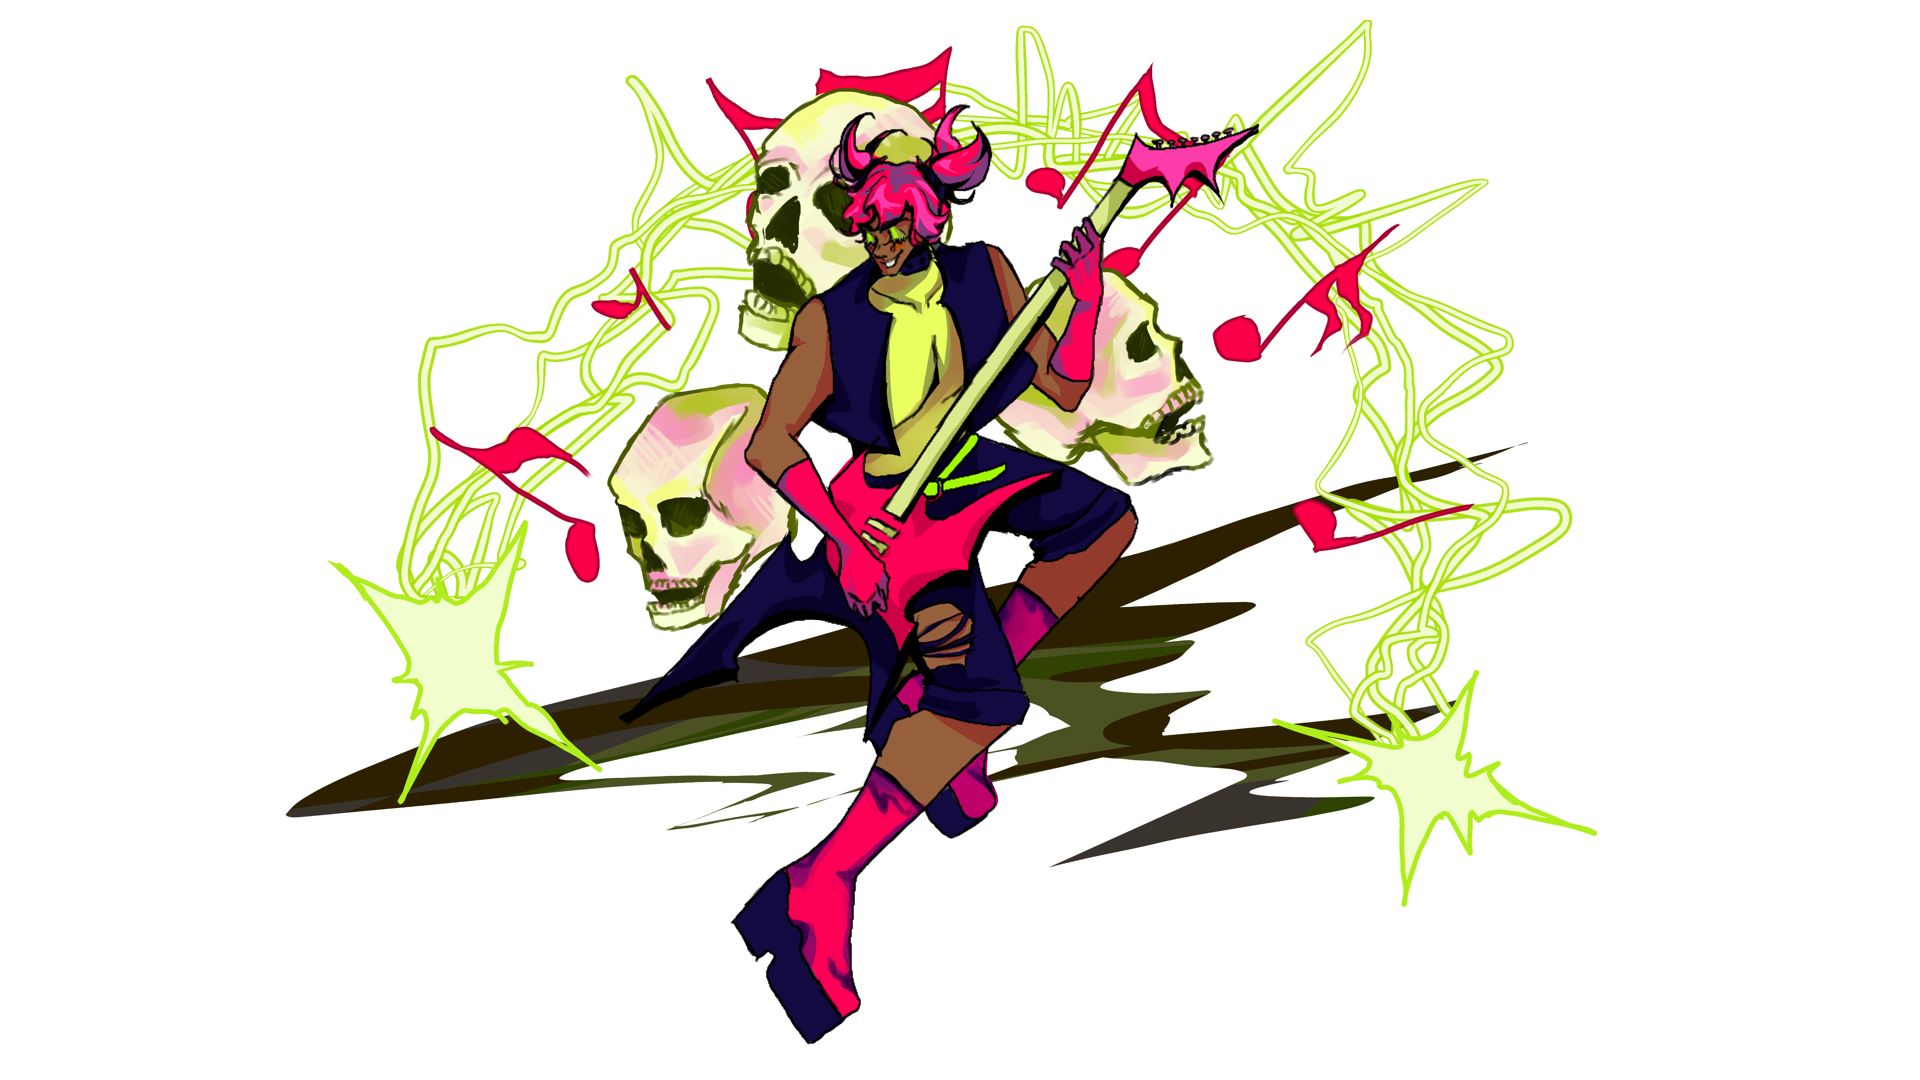
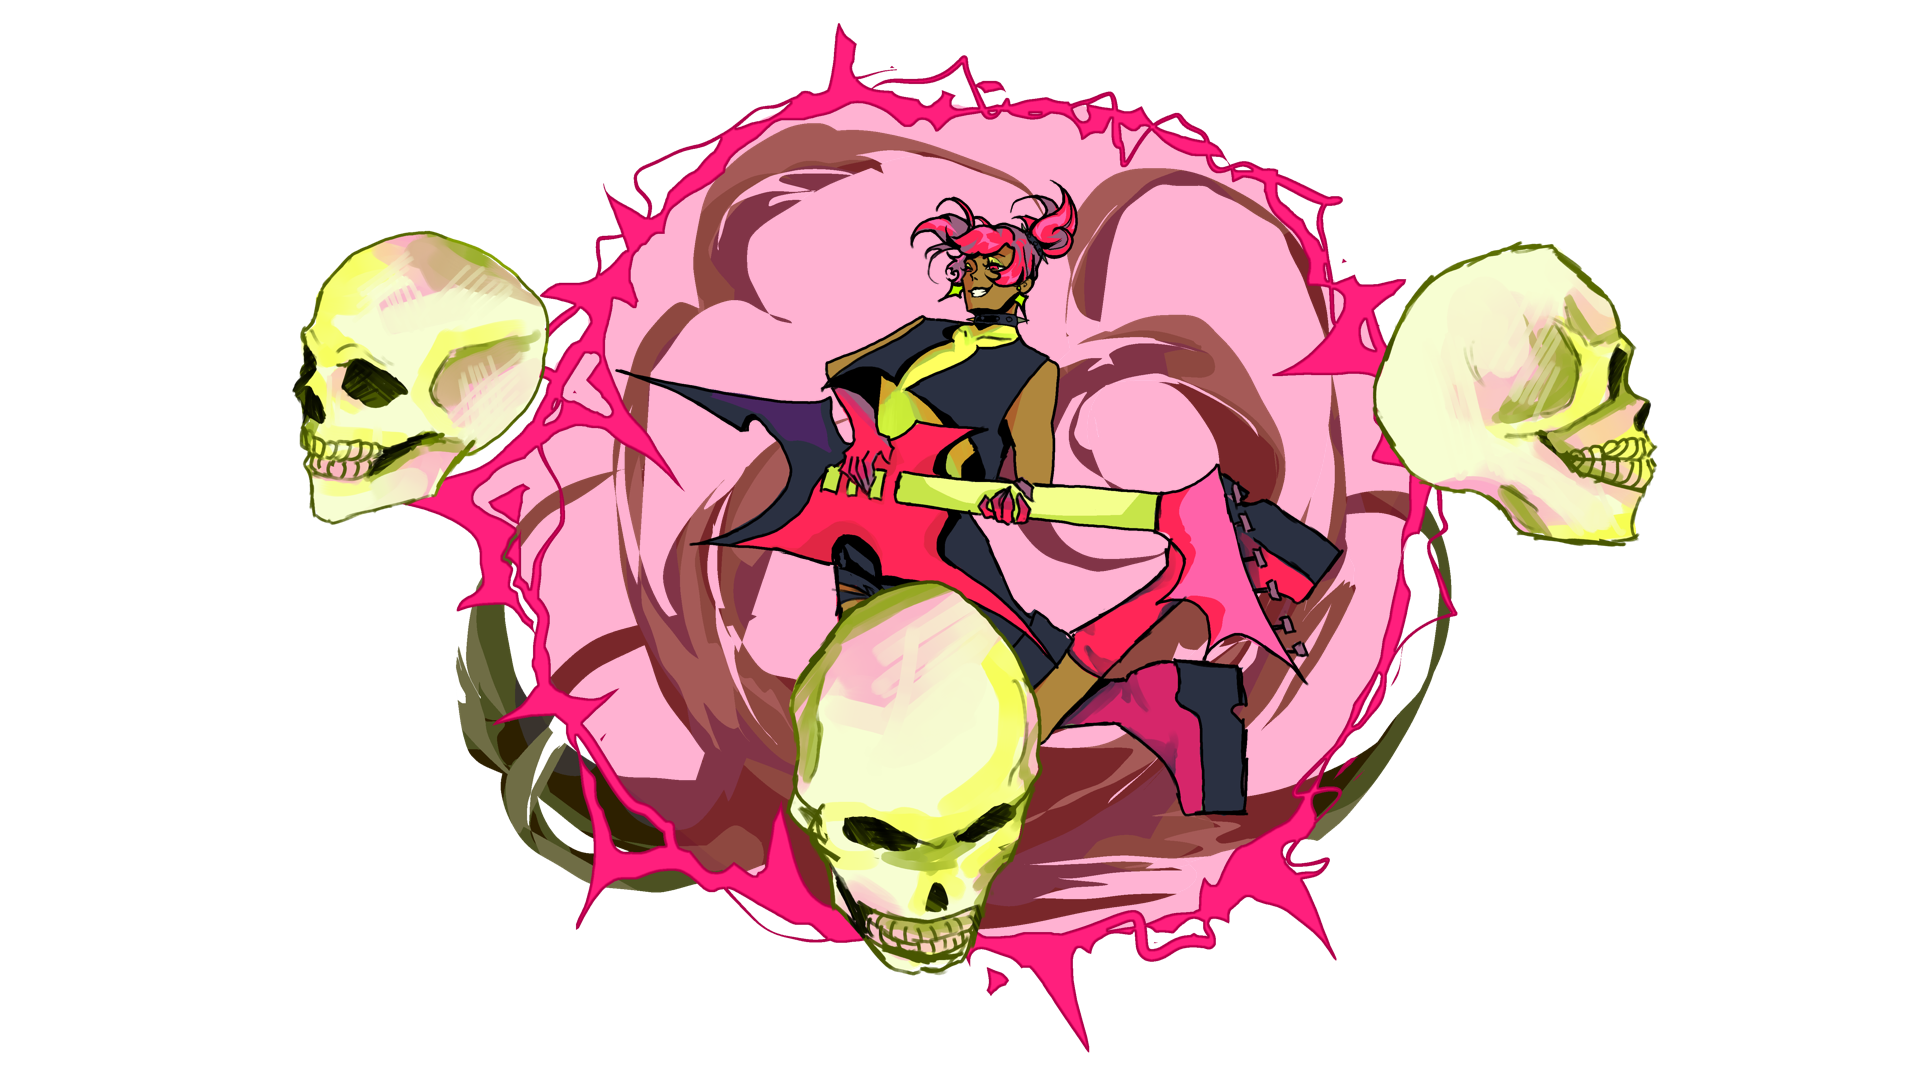
November 24th-29th:
For the combos in our game, our team has discussed having combo cutscenes that are reminiscent of early fighter games. They had asked me to prioritize the splash arts for a heavy attack and a defense combo because they wanted to implement it into the UI. Unfortunately, they ultimately did not have the time to include it but instead incorporated Thea heavy attack as part of the pause screen. I ideally would like to animate parts of the splash arts for the combo cut scene in the near future.
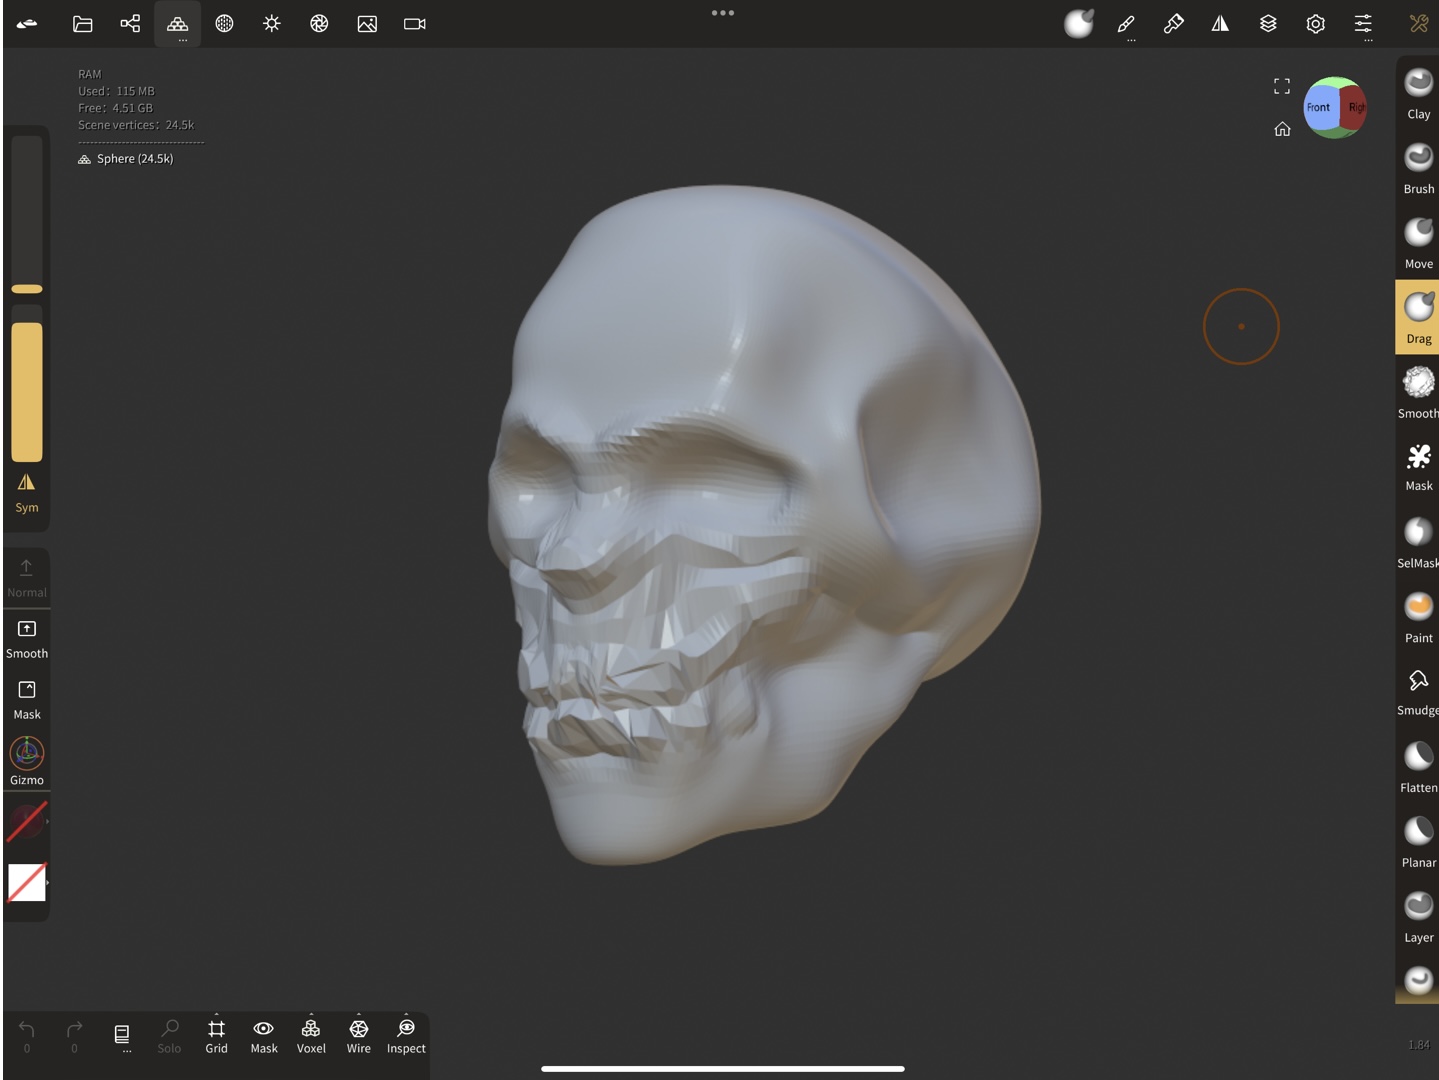
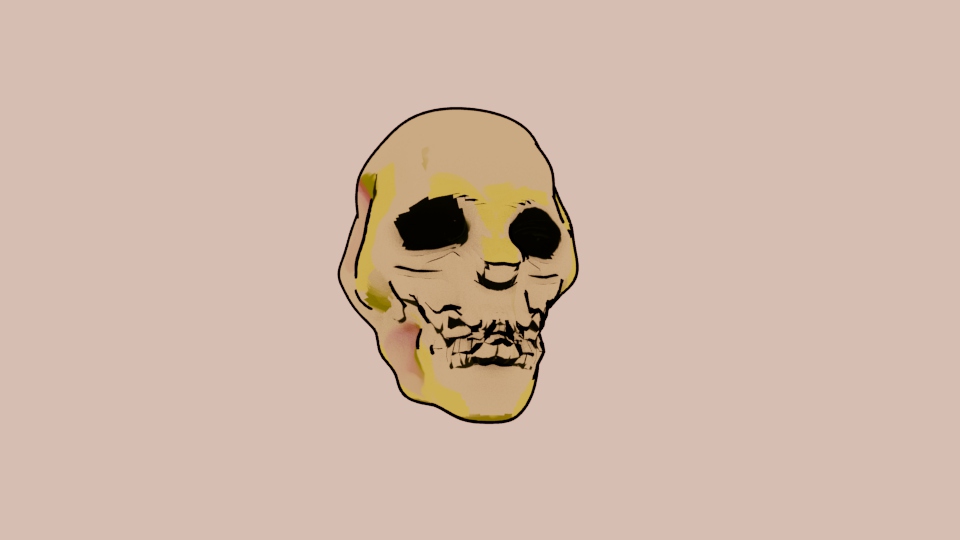
In addition, since my team liked the skull motif in the splash art, they also asked me to 3D model a skull that would be used as the character’s attack visuals. Again, they didn’t have time to implement the skull into the final prototype, but it is something we do want to incorporate later on.
November 30th-December 2nd:
I finished the remaining background assets and their textures:
- Painted subway station
- Both vending machine mesh and texture
- Both trash can mesh and texture
- Both telephone booth mesh and texture
Unfortunately, the rest of the team did not have the time to include these into our prototype due to time constraints. However, since our map for the prototype was already pretty small, it didn’t affect the overall visual too much. Once we do expand our map and game, these assets will make an appearance then.
Leave a comment
Log in with itch.io to leave a comment.